Payment API 101: Getting Started with Chimoney's Integration and API
Introduction
Cross-border payments have become increasingly popular and essential in today's global economy, benefiting both businesses and individuals. The Chimoney API addresses this need by offering payout and payment infrastructure. By using Chimoney, you can streamline cross-border payments, improve user experience, and expand your reach to over 130 countries.
This article showcases the key features of the Chimoney API and guides you through making your first Chimoney API call. For detailed examples and specific use cases, check out these blogs:
- The Ultimate Guide to Simplifying Global Payouts for Your Business with API Solutions
- Integrating Multicurrency Wallets: A Deep Dive into Multi-Currency Global Payouts
Additionally, read about how Reeple is using our API for remittances to Africa in this customer success story.
What is Chimoney?
At its core, Chimoney is a provider of payment and payout infrastructure and an API, offering seamless cross-border payment solutions. Imagine a world where everyone, regardless of location or economic status, can easily receive payments and redeem them through international bank transfers, gift cards, airtime, and Mobile Money. This is precisely what Chimoney offers.
What is the Chimoney API?
APIs (Application Programming Interfaces) act as bridges allowing applications to communicate with each other. The Chimoney API enables the integration of Chimoney’s services into applications through various endpoints. It provides essential functionalities to streamline cross-border payments and improve user payment experiences via:
- Account and Sub-Account Management: Create and manage user accounts and sub-accounts efficiently.
- Multi-Currency Wallets: Handle wallets that support multiple currencies seamlessly.
- Global Payouts: Facilitate payouts to over 130 countries with ease.
- AI Invoice Generation: Automatically generate invoices by writing a prompt.
- Wallet and Account Transfers: Perform transactions between different wallets and accounts.
- Bill Payment: Enable Canadian bill payment functionality within applications.
- Interac Payouts and Payments: Facilitate Payouts and collect Payments via Chimoney's Interac
- Currency Conversions: Manage conversions between various currencies effortlessly.
- Payment Requests: Initiate and manage payment requests effectively.
- Redemption of Assets: Redeem assets such as bank transfers and gift cards.
Exploring Chimoney API Endpoints and Key Features
The Chimoney API is organized into several categories, each offering different Chimoney services:
Account Endpoints
- Features: Enable the creation and management of user accounts, retrieval of transaction details, and execution of account transfers.
- Example Endpoint: v0.2/accounts/transfer
AI Endpoints
- Features: Utilize AI capabilities to automate the creation of invoices.
- Example Endpoint: v0.2/ai/invoice/generate
Info Endpoints
- Features: Provide access to information such as exchange rates, Chimoney-supported countries and assets, and bank details.
- Example Endpoint: /v0.2/info/assets
Multi-Currency Wallets Endpoints
- Features: Enable the creation and management of wallets that support multiple currencies (CAD, USD, NGN). Facilitate transfers between wallets and other entities such as emails and phone numbers.
- Example Endpoint: /v0.2/multicurrency-wallets/create
Payment Endpoints
- Features: Enable the initiation and verification of payment requests, transactions, and payouts to various destinations, including banks, mobile money services, and gift cards.
- Example Endpoint: /v0.2/payment/initiate
Payout Endpoints
- Features: Support various types of payouts, such as bank transfers and gift cards.
- Example Endpoint: /v0.2/payouts/chimoney
Redeem Endpoints
- Features: Allow redemption of financial assets like airtime and gift cards.
- Example Endpoint: /v0.2/redeem/any
Sub-Account Endpoints
- Features: Allow management of sub-accounts.
- Example Endpoint: /v0.2/sub-account/create
Getting Started with Chimoney API
In this section, we'll guide you through the process of creating a Chimoney developer account, obtaining an API key, and initiating an API call with the Chimoney API.
Step 1. Creating a Chimoney Developer Account
To begin integrating with the Chimoney API, you'll first need to create a developer account on the Chimoney platform. Follow these steps to get started:
-
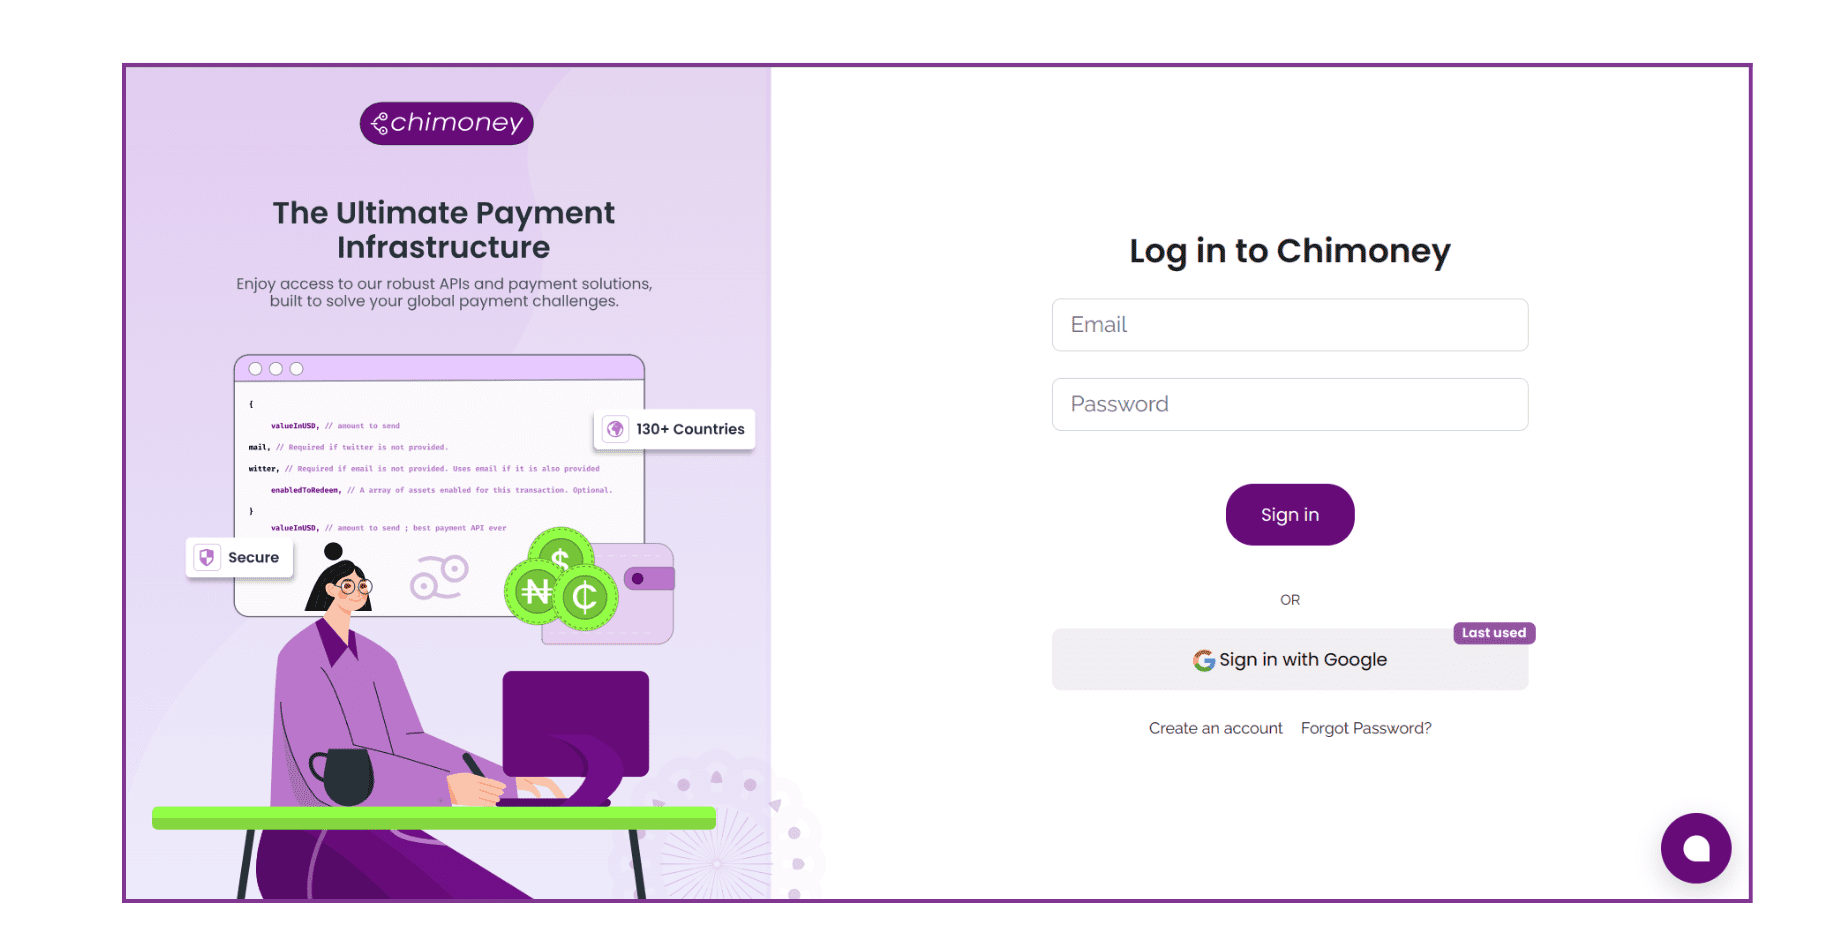
Visit the Chimoney Developer Portal: Navigate to the Chimoney Developer Portal at sandbox.chimoney.io.
-
Create Account: Click on create account to create your developer account and fill in your email address, and a password.
-
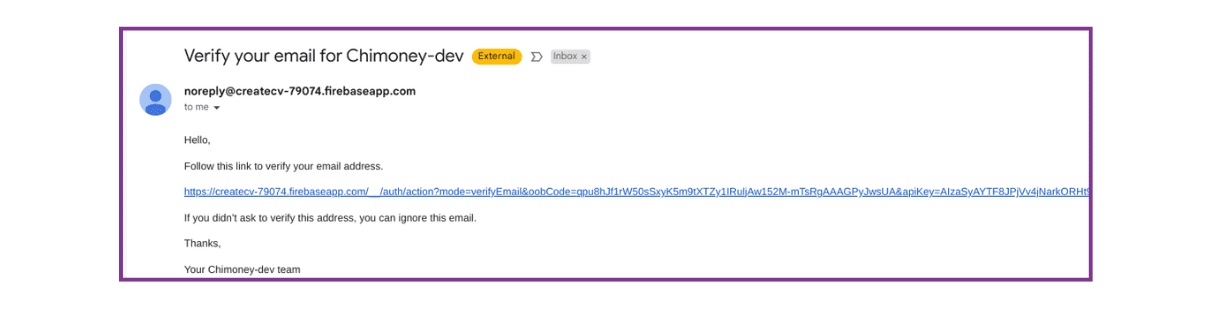
Verify Your Email: After signing up, Chimoney will send a verification email to the address you provided. Click the verification link in the email to confirm your account.
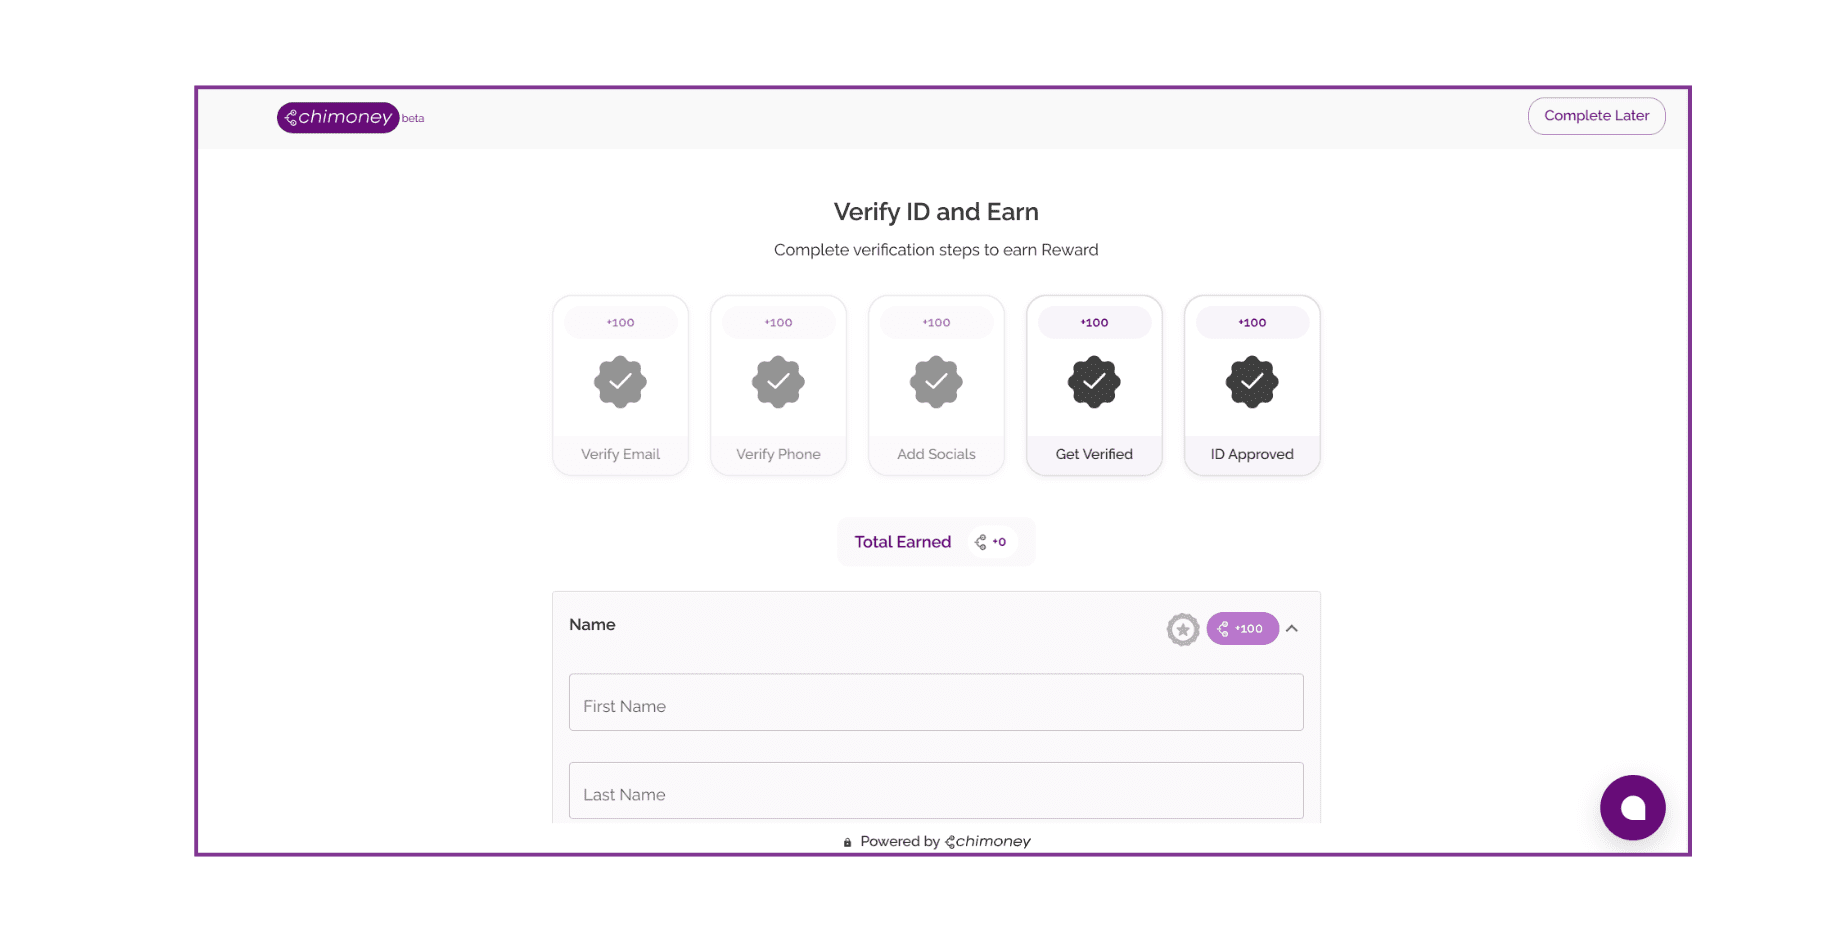
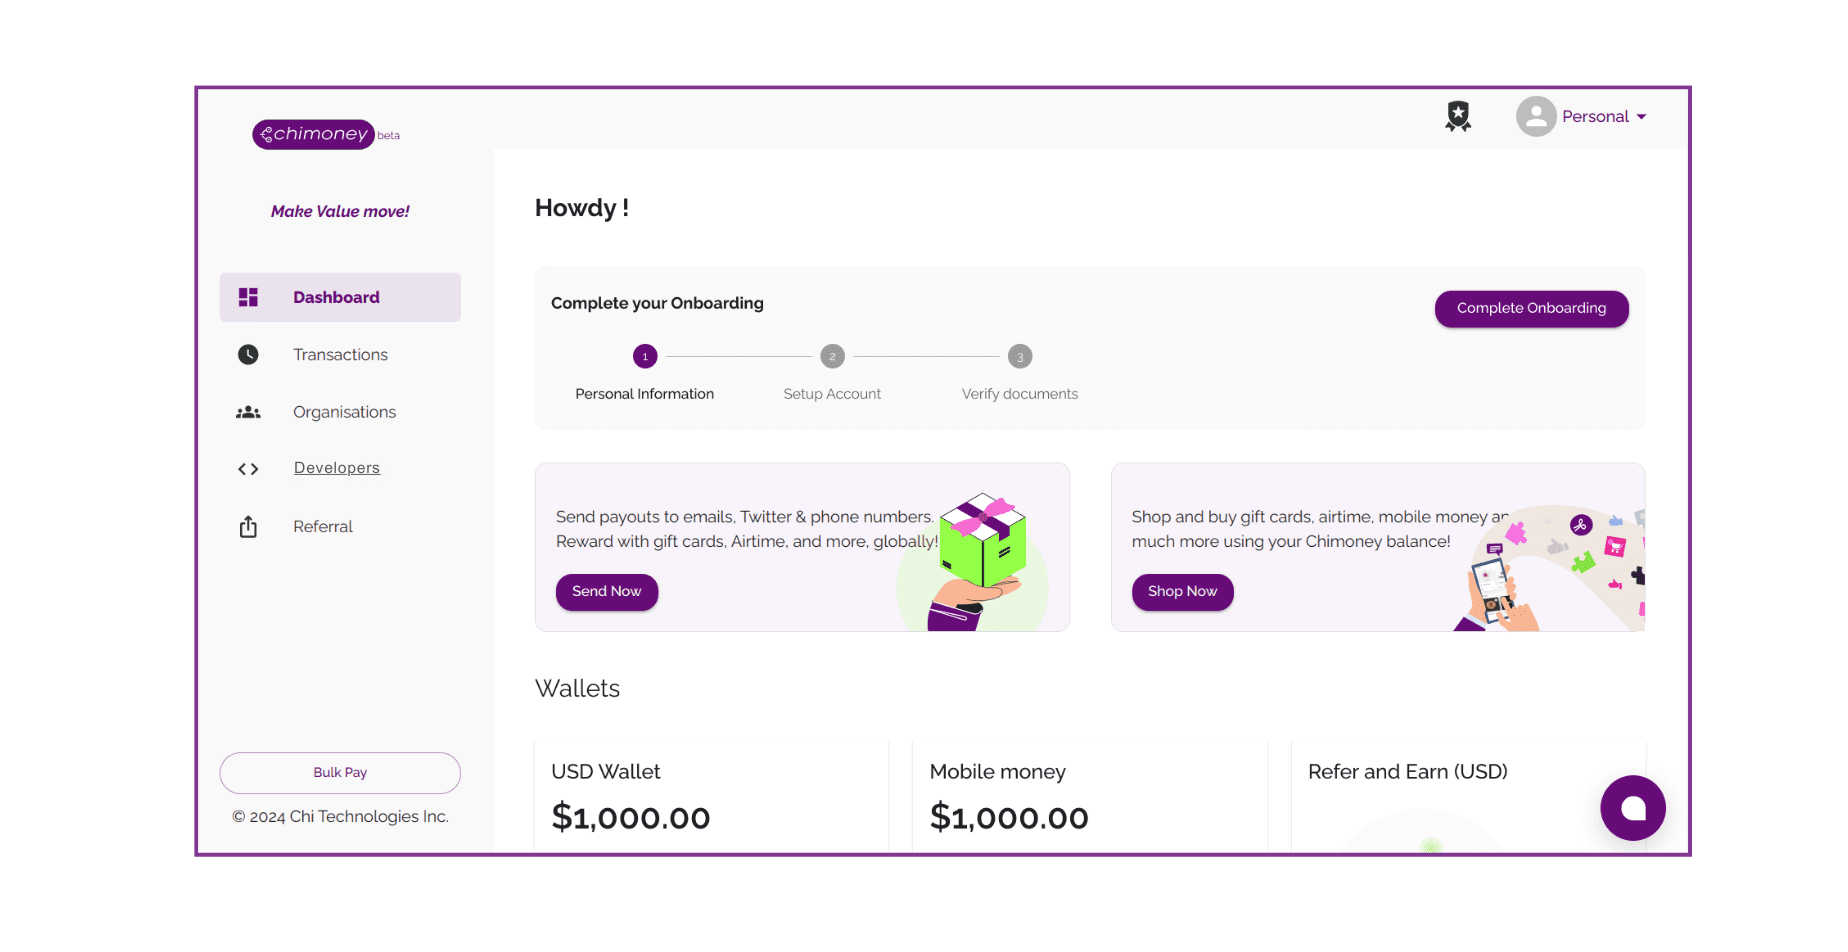
-
Complete Your Profile: Once verified, log in to your Chimoney developer account and complete your onboarding. You can also opt to complete later by clicking on the complete later button on the top right of the page.
Step 2. Obtaining an API Key
An API key is required to authenticate and authorize API requests to Chimoney. Here’s how you can obtain your API key:
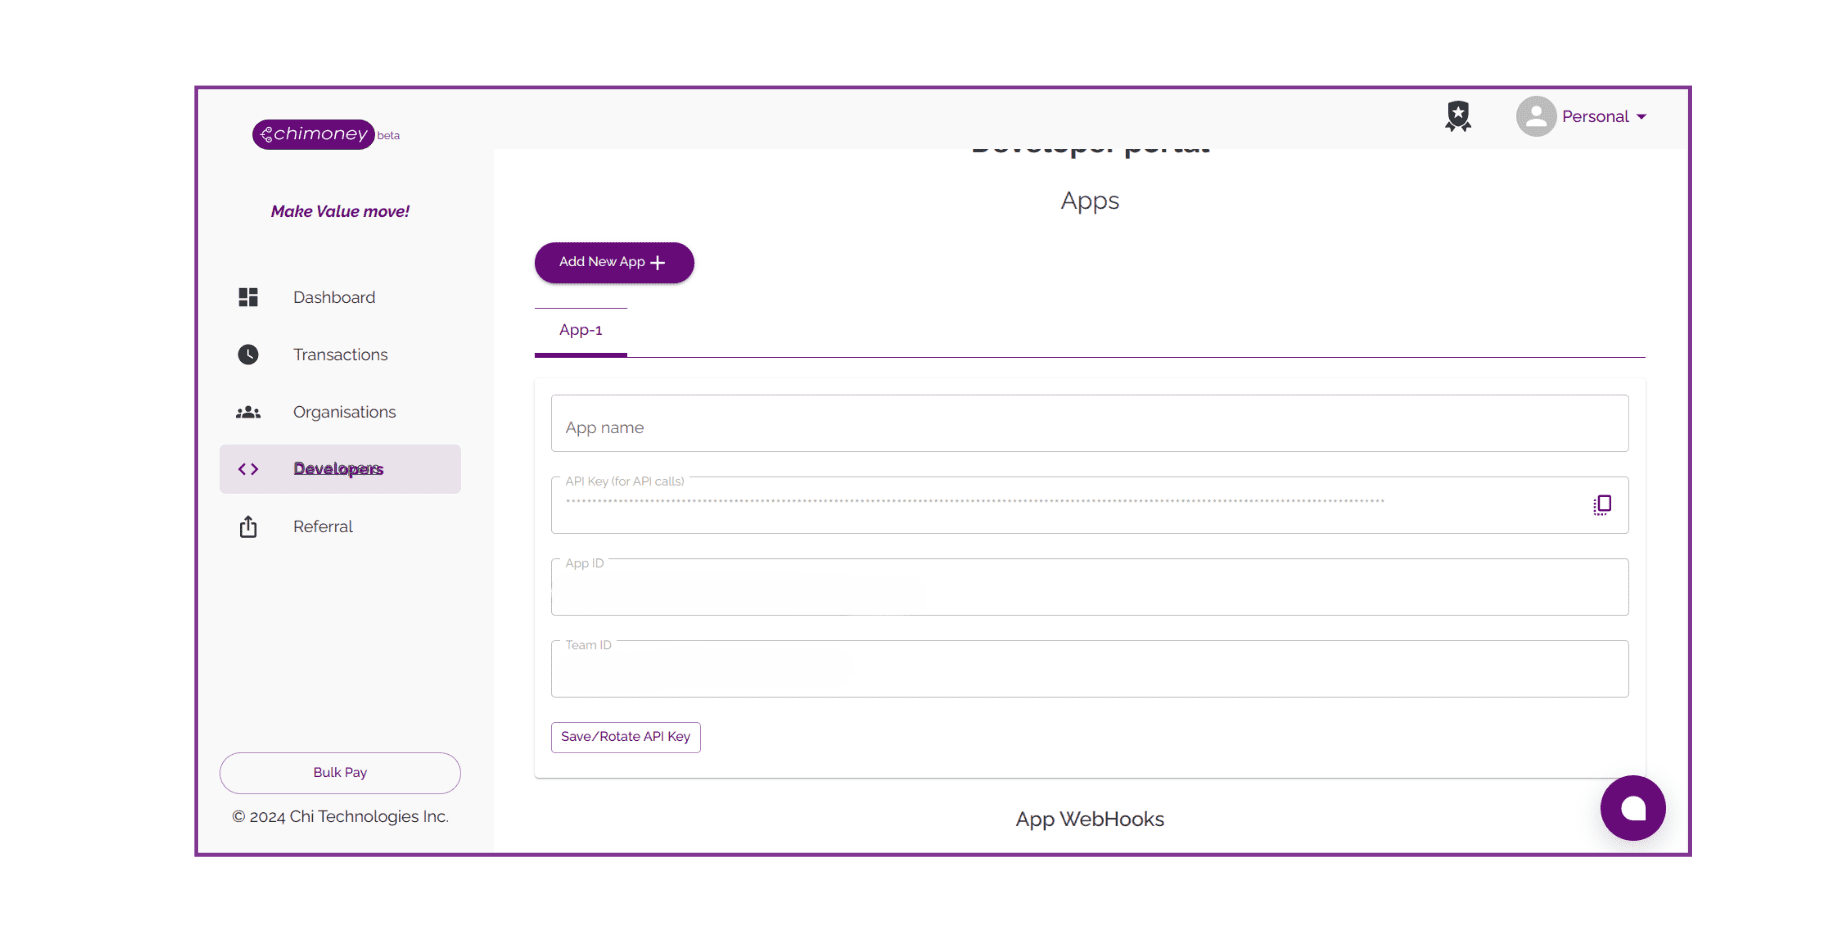
- Navigate to Developers Tab: Within the developer portal, create a new App.
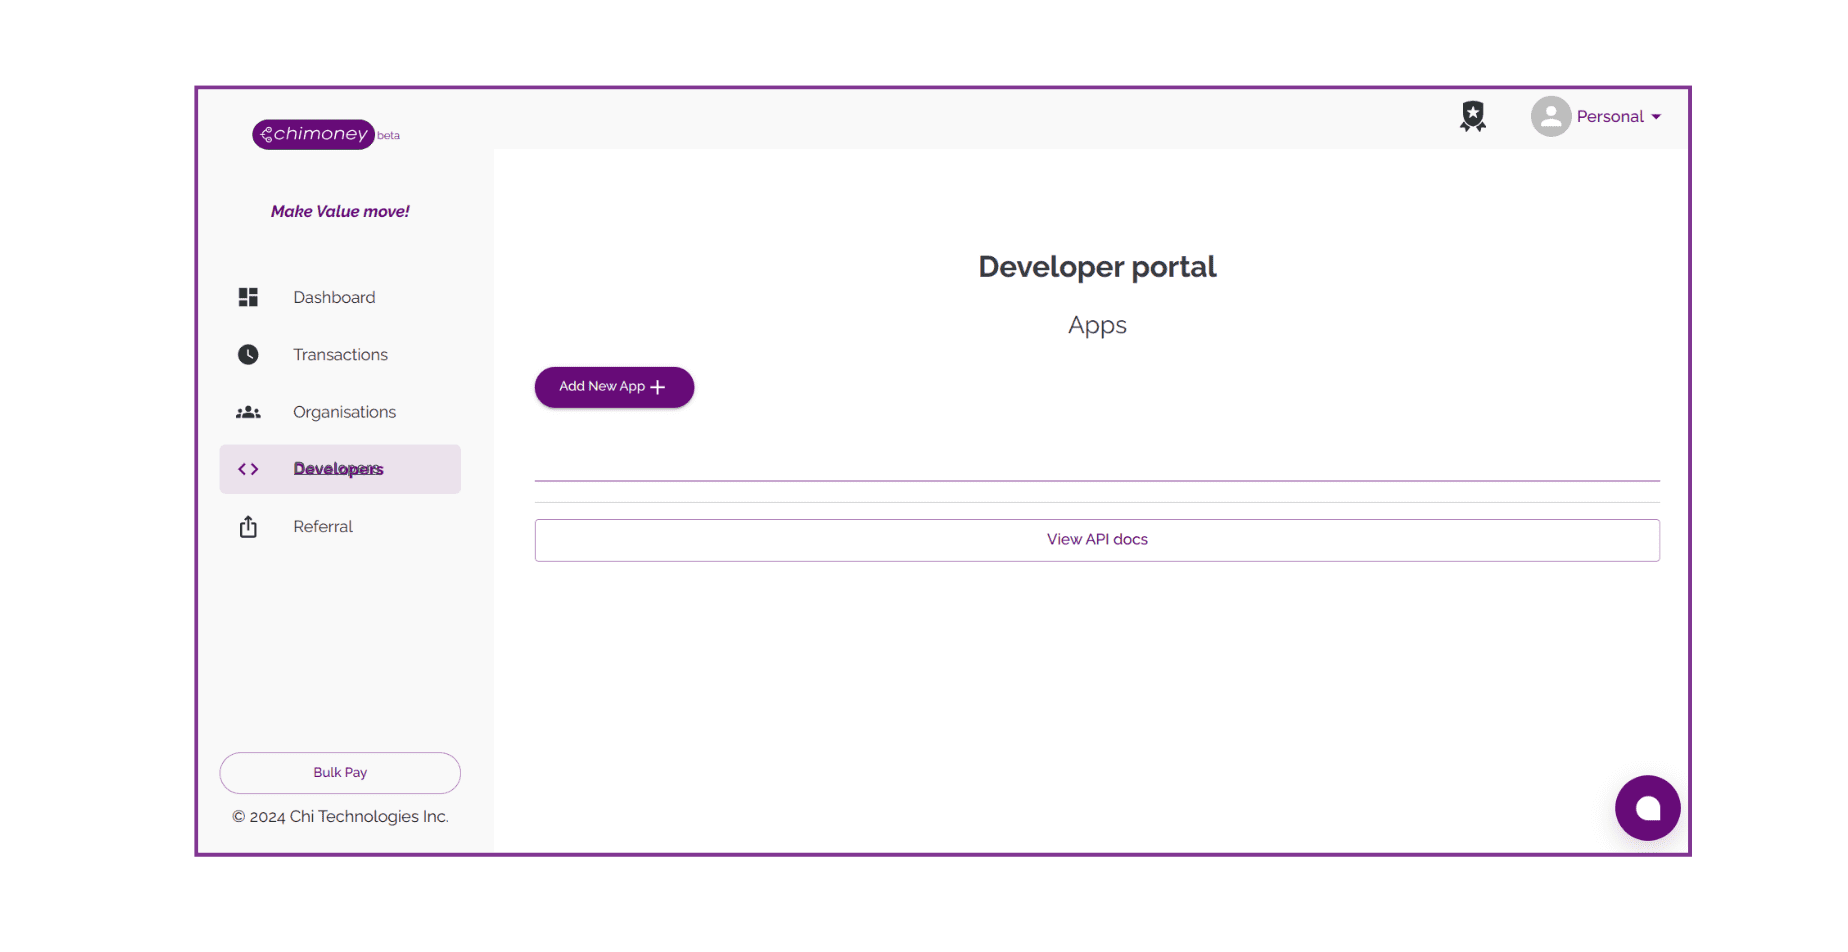
- Copy Your API Key: Once you create a new App, your API Key will be generated. Copy the key securely as it will be used to authenticate your API requests.
Step 3. Initiating API Calls with the Chimoney API
Now that you have your API key, you’re ready to start making API calls to Chimoney endpoints. Here’s a basic example of how to initiate an API call using Node.js:
Install Axios
First, you need to install the Axios in your project. You can do this using the following command:
npm install axios
After setting up your environment and installing Axios, you are ready to make your first call to the Chimoney API. The next step is to send a POST request to the Chimoney Payout Chimoney endpoint, which allows the initiation of payouts. We'll explain each part of the code to ensure you understand how it works.
Import Axios
Start by importing the Axios library in your JavaScript file. Axios is a promise-based HTTP client for the browser and Node.js, which makes it easy to send asynchronous HTTP requests.
const axios = require('axios');
Configure Request Options
Define the options for the API request. The options include the HTTP method, the URL of the API endpoint, the headers, and the data to be sent.
-
Method: Specify the HTTP method as 'POST' because we are sending data to create a new resource (initiate a payout).
-
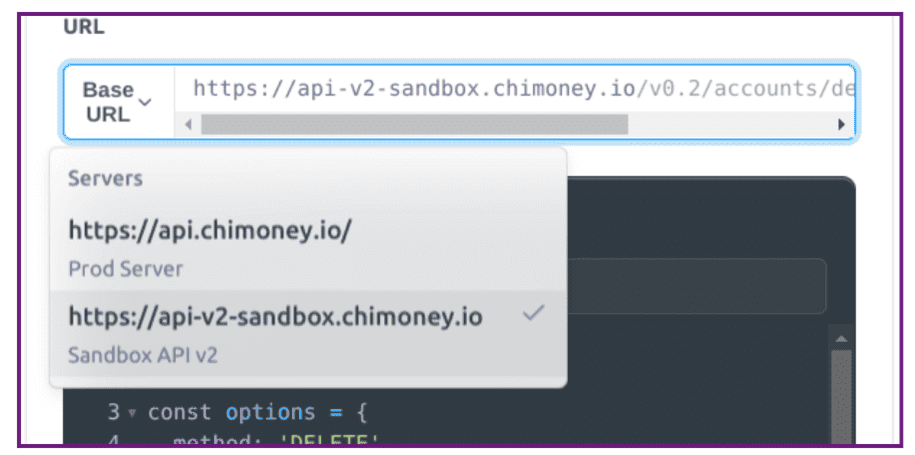
URL: Set the URL to the Chimoney Payout endpoint: https://api-v2-sandbox.chimoney.io/v0.2/payouts/chimoney.
-
Headers: Include the necessary headers:
- accept: The type of response data expected (in this case, JSON).
- content-type: The format of the data being sent (in this case, JSON).
- X-API-KEY: Your unique API key obtained from the Chimoney Developer Portal. Replace YOUR_API_KEY with your actual API key.
-
Data: The data object contains the parameters required by the API. For the payout endpoint, you need to specify the
recipient's emailand theamount in USD. This data will be sent in the body of the POST request.
const options = {
  method: 'POST',
  url: 'https://api-v2-sandbox.chimoney.io/v0.2/payouts/chimoney',
  headers: {
    accept: 'application/json',
    'content-type': 'application/json',
    'X-API-KEY': '_YOUR_API_KEY_'
  },
  data: {
    chimoneys: [
      {
        email: 'test@gmail.com',
        valueInUSD: 10
      }
    ]
  }
};
Note: Ensure you are calling the correct endpoint URL (sandbox or production). If you encounter issues, kindly verify that the appropriate endpoint is being used.
Make the API Request
-
Use Axios to send the request with the configured options. The
.requestmethod sends the HTTP request and returns a promise. -
Then Method: The
.thenmethod is used to handle the response when the request is successful. The response data is logged to the console. -
Catch Method: The
.catchmethod is used to handle any errors that occur during the request. The error is logged to the console.
axios
  .request(options)
  .then(function (response) {
    console.log(response.data);
  })
  .catch(function (error) {
    console.error(error);
  });
Complete Code Sample
Here’s the complete example code with additional comments to explain each part:
// Import the Axios library
const axios = require('axios');

// Configure the request options
const options = {
  method: 'POST', // HTTP method to use
  url: 'https://api-v2-sandbox.chimoney.io/v0.2/payouts/chimoney', // API endpoint URL
  headers: { // HTTP headers to include
    accept: 'application/json', // Accept JSON response
    'content-type': 'application/json', // Sending JSON data
    'X-API-KEY': '_YOUR_API_KEY_' // Your Chimoney API key
  },
  data: { // Data to send in the request body
    chimoneys: [
      {
        email: 'test@gmail.com', // Recipient's email
        valueInUSD: 10 // Amount to payout in USD
      }
    ]
  }
};

// Send the API request
axios
  .request(options)
  .then(function (response) { // Handle successful response
    console.log(response.data); // Log the response data
  })
  .catch(function (error) { // Handle error
    console.error(error); // Log the error
  });
What to Expect
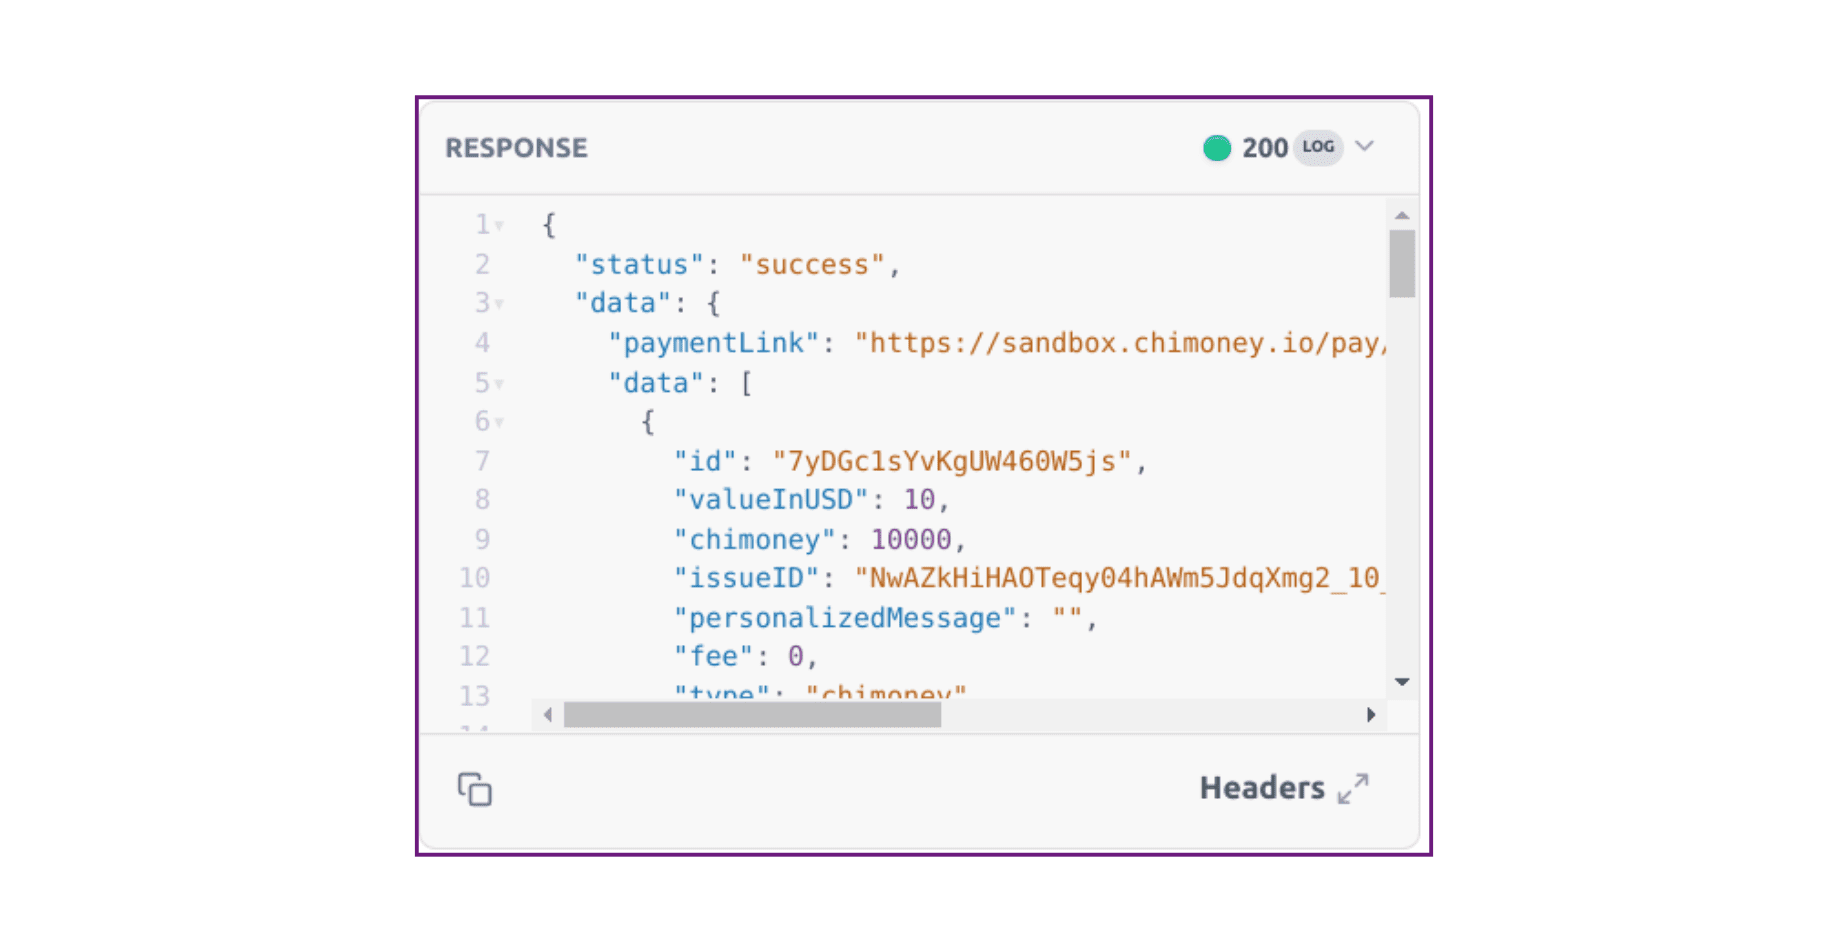
-
When the API call is successful, you should see a response object in the console with details of the payout transaction like the example below
-
If there is an error (e.g., invalid API key, incorrect endpoint URL), the error details will be logged to the console.
Conclusion
In the upcoming articles, we’ll explore the Chimoney API endpoints in greater detail. This concludes our initial setup guide for integrating with the Chimoney API. If you encounter any issues or have questions during the setup process, please reach out to us at support@chimoney.io for assistance.
Happy coding with the Chimoney API!
Check out these other posts

Why 2025 Is The Year AI Agents Get Their Own Wallets (And Passports)